

Creating a seamless look with acrylic tiles is an art that combines both aesthetic vision and technical know - how. As a seasoned acrylic tile supplier, I've witnessed firsthand the transformative power of these tiles when installed correctly to achieve a seamless appearance. In this blog, I'll share some insights and strategies on how to create that flawless, continuous look with acrylic tiles.
Understanding Acrylic Tiles
Acrylic tiles are a popular choice for various applications, from interior wall cladding to exterior facades. They offer a unique combination of durability, versatility, and visual appeal. Acrylic is a lightweight, shatter - resistant plastic that can be molded into various shapes and sizes. It also comes in a wide range of colors and finishes, allowing for endless design possibilities.
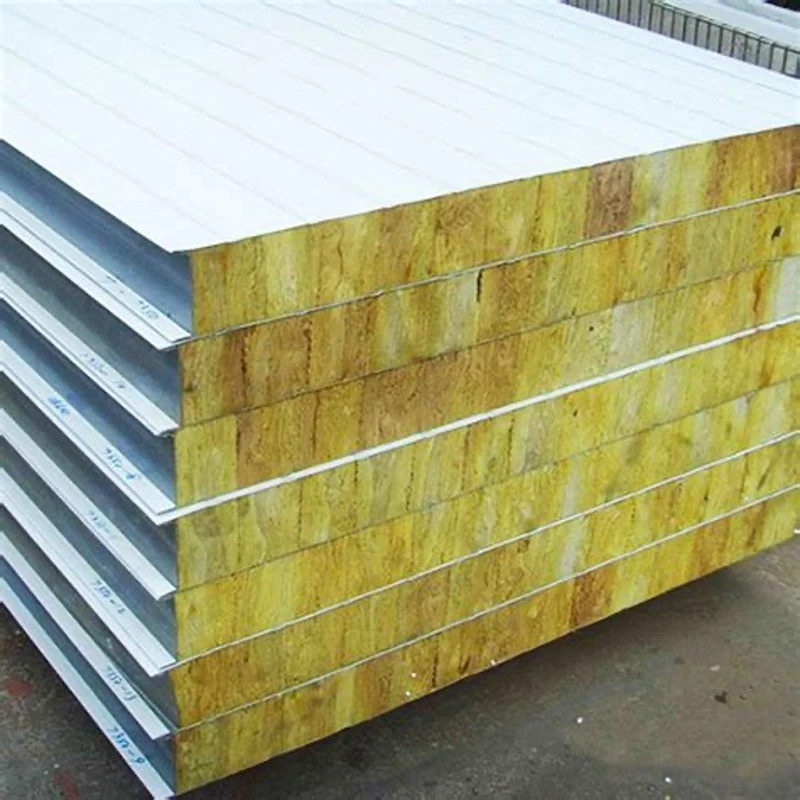
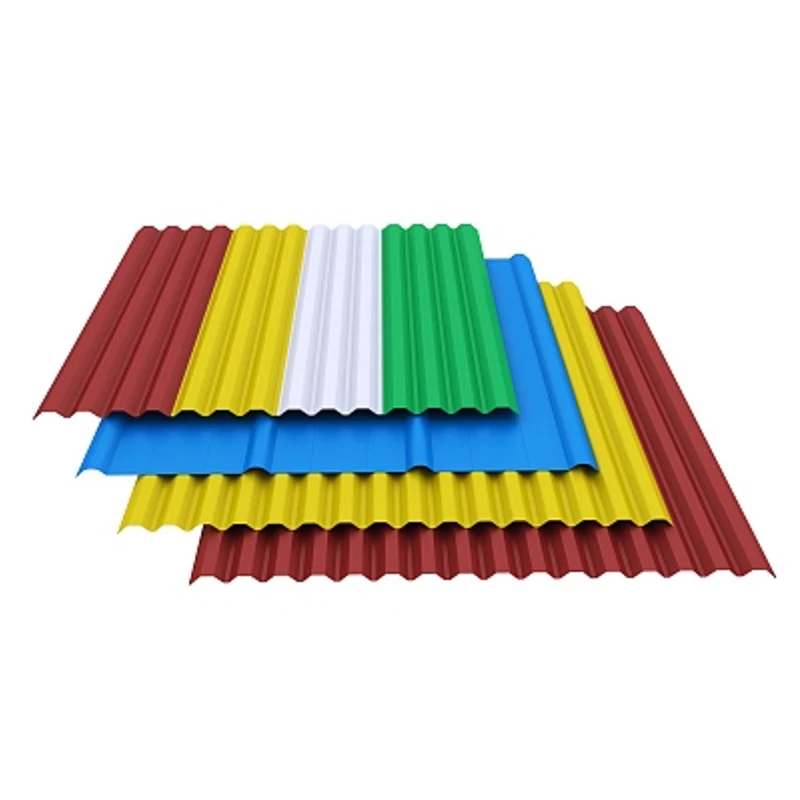
Our product line includes Stainless Steel Composite Acrylic Tile, Aluminium Composite Acrylic Tile, and Painted Steel Composite Acrylic Tile. Each type has its own set of characteristics that can contribute to the overall seamless look. For example, stainless steel composite acrylic tiles offer a modern, industrial aesthetic, while aluminium composite acrylic tiles are lightweight and corrosion - resistant. Painted steel composite acrylic tiles, on the other hand, provide a wide range of color options to match any design scheme.
Planning Your Installation
The first step in creating a seamless look with acrylic tiles is careful planning. Before you start installing the tiles, you need to have a clear idea of the layout and design. Measure the area where the tiles will be installed accurately. This will help you determine the number of tiles you need and the best way to arrange them.
Consider the pattern of the tiles. For a truly seamless look, a running bond or a straight - set pattern is often a good choice. These patterns create a continuous, flowing appearance. Avoid using patterns that have too many breaks or irregularities, as they can disrupt the seamless effect.
Another important aspect of planning is to choose the right grout. Grout not only holds the tiles in place but also affects the overall look of the installation. For a seamless look, choose a grout color that closely matches the color of the tiles. This will minimize the visual contrast between the tiles and the grout, creating a more unified appearance.
Surface Preparation
Proper surface preparation is crucial for a seamless acrylic tile installation. The surface where the tiles will be installed must be clean, flat, and dry. Any dirt, dust, or debris on the surface can prevent the tiles from adhering properly and can lead to an uneven appearance.
If the surface is uneven, you may need to use a leveling compound to create a smooth base. This will ensure that the tiles sit flat and that there are no gaps or unevenness in the finished installation. Sand the surface lightly to create a rough texture that will help the adhesive bond better with the tiles.
Tile Selection and Arrangement
When selecting acrylic tiles, pay attention to the size and shape. Larger tiles generally create a more seamless look because there are fewer grout lines. However, larger tiles can also be more difficult to handle and install. Choose a tile size that is appropriate for the area you are tiling and your level of installation experience.
Before you start installing the tiles, lay them out on the surface to see how they will look. This will give you a chance to make any adjustments to the layout and ensure that the tiles fit together properly. Check for any tiles that have defects or irregularities and replace them if necessary.
Installation Process
The installation process is where the magic happens. Start by applying a thin layer of adhesive to the prepared surface using a notched trowel. The notches on the trowel will create ridges in the adhesive, which will help the tiles adhere better.
Place the tiles on the adhesive, pressing them firmly into place. Use a tile spacer to ensure that there is a consistent gap between the tiles for the grout. Work in small sections at a time to ensure that the adhesive does not dry out before you have a chance to place all the tiles.
As you install the tiles, check for levelness using a spirit level. Make any necessary adjustments to ensure that the tiles are straight and that there are no uneven areas. Use a rubber mallet to gently tap the tiles into place if needed.
Grouting
Once the tiles are installed and the adhesive has dried, it's time to grout. Mix the grout according to the manufacturer's instructions. Use a grout float to apply the grout to the gaps between the tiles, spreading it evenly and filling all the spaces.
Wipe off the excess grout from the surface of the tiles using a damp sponge. Be careful not to remove too much grout from the gaps. Allow the grout to dry for a few hours, and then use a dry cloth to buff the tiles and remove any remaining grout haze.
Finishing Touches
After the grout has dried completely, apply a grout sealer to protect the grout from stains and moisture. This will also help to keep the grout looking clean and new for longer.
Clean the tiles thoroughly to remove any remaining dirt or debris. You can use a mild detergent and a soft cloth to clean the tiles. Avoid using abrasive cleaners or tools that could scratch the surface of the acrylic tiles.
Maintenance
To keep your acrylic tile installation looking seamless and beautiful for years to come, proper maintenance is essential. Regularly clean the tiles with a mild detergent and water. Avoid using harsh chemicals or abrasive cleaners, as they can damage the surface of the tiles.
Inspect the grout regularly for any signs of wear or damage. If you notice any cracks or gaps in the grout, re - grout the affected areas to prevent water from seeping in and causing damage to the tiles or the underlying surface.
Conclusion
Creating a seamless look with acrylic tiles requires careful planning, proper surface preparation, and a meticulous installation process. By following these steps and using high - quality acrylic tiles from our product line, you can achieve a stunning, continuous appearance that will enhance the beauty of any space.
If you're interested in learning more about our acrylic tile products or have any questions about the installation process, we'd love to hear from you. Whether you're a professional contractor or a DIY enthusiast, we're here to provide you with the support and products you need for a successful tile project. Contact us to start a discussion about your acrylic tile needs and explore the possibilities of creating a seamless look in your next project.
References
- "Tile Installation Handbook" by Tile Council of North America
- "Acrylic Plastics: Properties and Applications" by George E. Wypych


