

Securing aluminium trim coil to concrete is a crucial process in various construction and renovation projects. As a leading aluminium trim coil supplier, I've witnessed firsthand the importance of a proper installation method. In this blog, I'll share some effective techniques to ensure that your aluminium trim coil is securely attached to concrete surfaces.
Understanding Aluminium Trim Coil
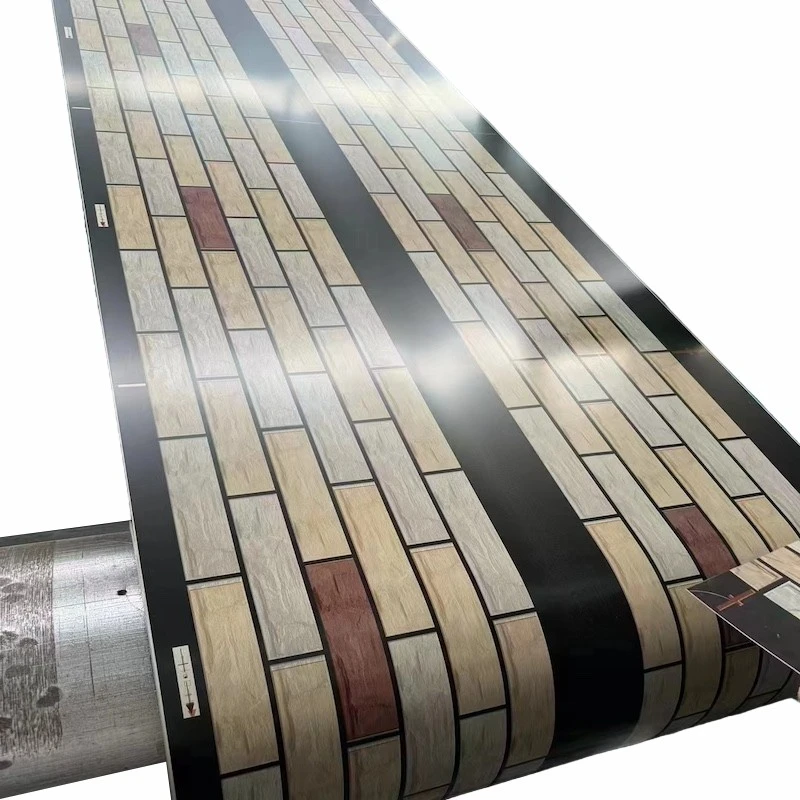
Before we delve into the installation process, it's essential to understand the characteristics of aluminium trim coil. Aluminium trim coil is a versatile material that comes in a variety of finishes, including Stone Grain Aluminium Coil, Brick Aluminium Trim Coil, and Wood Grain Aluminium Coil. These finishes provide an aesthetically pleasing appearance while offering durability and resistance to corrosion. The lightweight nature of aluminium makes it easy to handle and install, making it a popular choice for both interior and exterior applications.
Preparation
The first step in securing aluminium trim coil to concrete is proper preparation. This involves cleaning the concrete surface to ensure that there is no dust, dirt, grease, or loose particles. A power washer can be an effective tool for this task, especially for large areas. For smaller areas, a wire brush or a stiff - bristled broom can be used to scrub the surface. After cleaning, allow the concrete to dry completely.
Next, measure and cut the aluminium trim coil to the appropriate size. Use a sharp pair of tin snips or a power shear for straight cuts. For curved or irregular shapes, a jigsaw with a fine - tooth blade can be used. Make sure to wear appropriate safety gear, such as gloves and safety glasses, during the cutting process.
Methods of Securing
Adhesive Method
One of the most common methods of securing aluminium trim coil to concrete is using adhesive. There are several types of adhesives available on the market, such as construction adhesives and epoxy adhesives. Construction adhesives are generally easy to apply and offer good bonding strength. Epoxy adhesives, on the other hand, provide a stronger and more durable bond, especially in high - stress applications.
To apply the adhesive, follow these steps:

- Apply a thin, even layer of adhesive to the back of the aluminium trim coil using a notched trowel or a caulking gun. Make sure to cover the entire surface that will be in contact with the concrete.
- Press the aluminium trim coil firmly onto the concrete surface. Use a roller or a block of wood to apply even pressure and ensure good contact between the coil and the concrete.
- Allow the adhesive to cure according to the manufacturer's instructions. This may take several hours or even days, depending on the type of adhesive used.
Mechanical Fasteners
Another option is to use mechanical fasteners, such as screws or nails. When using screws, drill pilot holes in the concrete using a masonry drill bit. The size of the drill bit should be slightly smaller than the diameter of the screw. Insert plastic anchors into the pilot holes to provide better holding power. Then, use a screwdriver or a drill with a screwdriver bit to drive the screws through the aluminium trim coil and into the anchors.
If using nails, a powder - actuated nail gun can be an effective tool. However, this method requires proper training and safety precautions, as powder - actuated tools can be dangerous if not used correctly. Make sure to choose nails that are long enough to penetrate the concrete and provide a secure hold.
Hybrid Method
In some cases, a combination of adhesive and mechanical fasteners can be used. This hybrid method provides additional security and is especially useful in areas where the aluminium trim coil is subject to high winds, vibrations, or other external forces. First, apply the adhesive as described above. Then, use mechanical fasteners at regular intervals to reinforce the bond.
Quality Control
After securing the aluminium trim coil to the concrete, it's important to perform a quality check. Inspect the installation to ensure that the trim coil is straight, level, and securely attached. Check for any gaps or uneven areas between the coil and the concrete. If any issues are found, they should be addressed immediately. For example, if there are gaps, additional adhesive can be applied, or the fasteners can be tightened.
Maintenance
Once the aluminium trim coil is installed, proper maintenance is essential to ensure its long - term performance. Regularly inspect the trim coil for signs of damage, such as scratches, dents, or loose fasteners. Clean the trim coil periodically using a mild detergent and water. Avoid using abrasive cleaners or tools that could damage the finish.
Conclusion
Securing aluminium trim coil to concrete requires careful planning, proper preparation, and the use of appropriate techniques. Whether you choose the adhesive method, mechanical fasteners, or a hybrid approach, following the steps outlined in this blog will help you achieve a secure and long - lasting installation.
As a trusted aluminium trim coil supplier, we offer a wide range of high - quality products, including Stone Grain Aluminium Coil, Brick Aluminium Trim Coil, and Wood Grain Aluminium Coil. If you're planning a project that involves aluminium trim coil, we'd be happy to assist you. Contact us today to discuss your specific requirements and start the procurement process.
References
- "Aluminium in Construction: A Guide to Specification and Design", The Aluminium Federation
- "Construction Adhesives: Selection and Application", Building Construction Magazine
- "Powder - Actuated Tools: Safety and Operation", Occupational Safety and Health Administration


